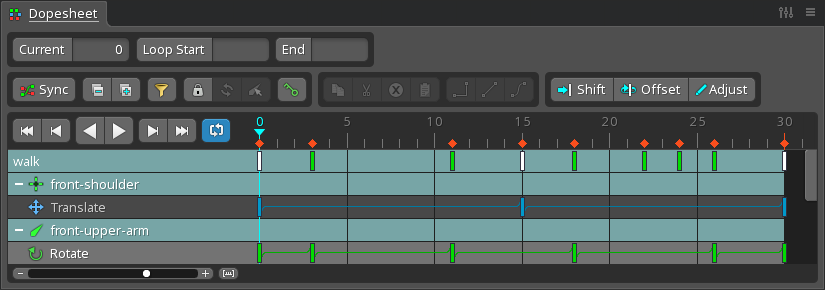
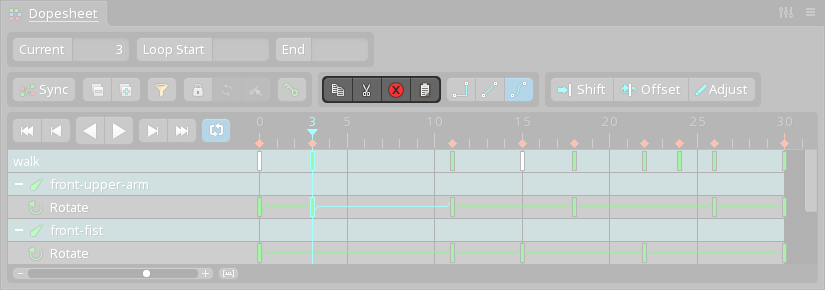
Dopesheet view
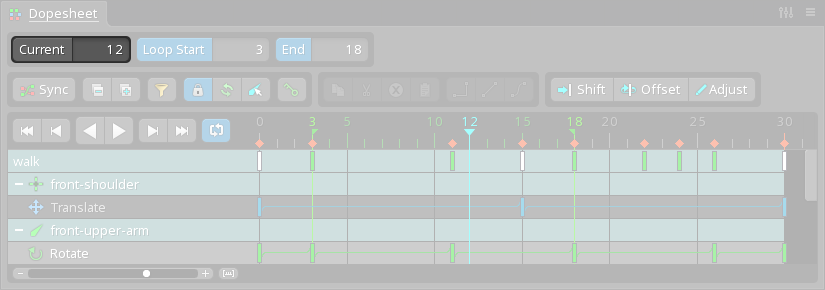
The dopesheet view displays and edits the timing of an animation's keys.
The dopesheet shows only the timing of the keys, not their values, but can show the keys for many different properties at once. In comparison, the graph shows both the timing and values for keys, but can be difficult to use when many keyed properties are shown.
See the dopesheet tips for various ways to use the dopesheet efficiently.
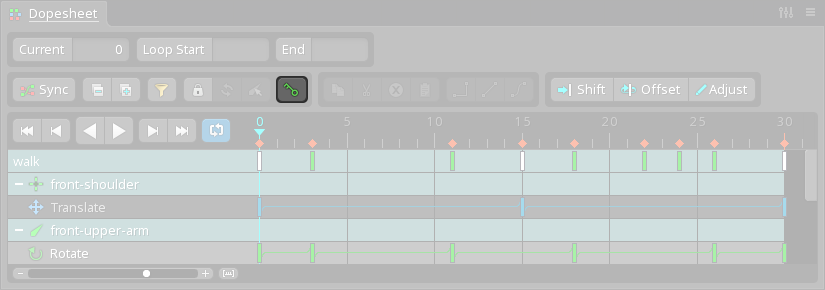
Rows
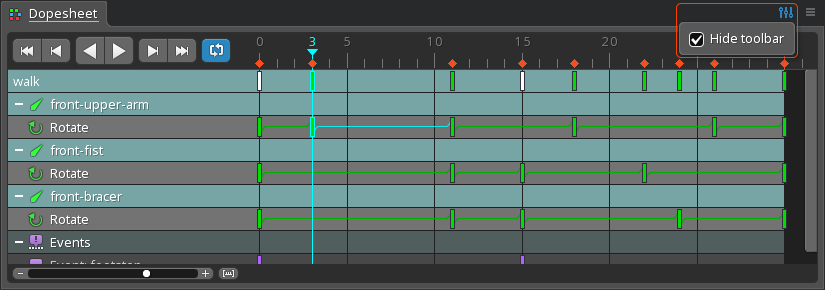
Below the timeline, rows are shown for each keyed property, grouped by bone. Each row has colored rectangles that represent the keys. A unique color is used for each type of key. White keys indicate multiple types of keys on the same frame.

Scrolling the mouse wheel over the dopesheet rows scrolls them up or down. Similar to the viewport, drag with the right mouse button to pan the dopesheet rows up and down or left and right.
Overview row
The first row in the dopesheet is the "overview row". It shows the animation name and the keys for all the rows below it. This is useful when needing to modify all the keys in an animation or all the keys currently being shown in the dopesheet.
Clicking the animation name can be useful when another animation needs to be selected, though the animations view is even faster.
When a project has multiple skeletons, an overview row will appear above the rows for each skeleton. Hiding a skeleton in the tree will also hide it in the dopesheet.
Click the animation name to select the animation in the tree.
Bone rows

Keys are grouped by the bone most related to the keyed property.
A bone row can be collapsed or expanded by clicking the collapse (-) or expand (+) icon at the left of the row, or by right clicking the bone name. When expanded, the bone row only shows a key when multiple properties under it have keys on the same frame. When collapsed, the bone row shows all the keys for the properties under it.
Clicking a bone name is more useful when the dopesheet is locked, since the dopesheet rows won't change when the bone is selected.
Click the bone name to select the bone in the viewport. Hold ctrl (cmd on Mac) to toggle the selection or select multiple bones.
Bone rows can be dragged up or down to change their order in the dopesheet.
Property rows

Under a bone row are property rows for each keyed property. The property row shows all the keys for that property. Lines between keys indicate the type of interpolation between the keys.
Clicking the name of a bone transform property will also select the corresponding transform tool to make setting new keys faster.
Click the property name to select the item in the viewport or tree. Hold ctrl (cmd on Mac) to toggle the selection or select multiple items.
Interpolation
Straight lines between keys indicate linear interpolation between the keys. Slightly curved lines indicate Bézier interpolation and dotted lines indicate a stepped transition. See the graph for more about interpolation between keys.
When no lines are shown between keys it indicates that there is no interpolation between the keys. This means either both keys have the same value or that the type of key does not have a transition, such as slot attachment or event keys. Note that overview and bone rows never display lines between keys.
Other rows
Rows for draw order and events aren't associated with a bone, so they are shown at the bottom of the dopesheet when they have keys and a related item or nothing is selected. Those rows can be hidden using the dopesheet filter.
Contents
The dopesheet has two modes to control which bone rows are shown: unlocked and locked.
Unlocked

To see all bone rows, deselect by pressing spacebar, escape, or by double clicking anywhere in the viewport.
The dopesheet is unlocked by default. When unlocked, which bone rows are shown depends on the viewport or tree selection. If bones (or items under a bone) are selected, only the bone rows for those bones are shown. If no bones are selected, then all bone rows are shown.
Using the dopesheet unlocked is useful when only needing to see the keys for one bone at a time. When working on multiple bones, locking the dopesheet contents may be more convenient.
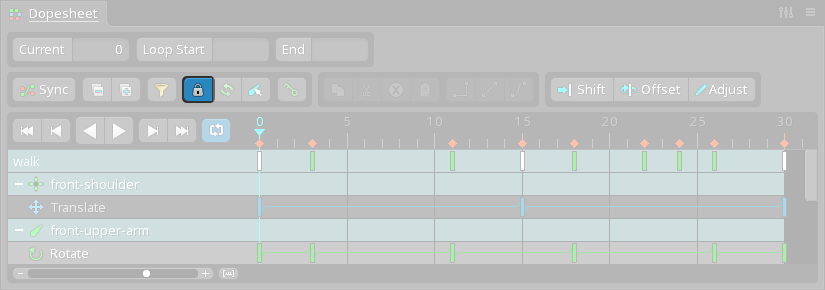
Locked
When sync is enabled, the lock buttons are hidden.
Click the lock button to lock the dopesheet, preserving which bone rows are shown. While locked, changing the viewport or tree selection does not affect which bone rows are shown.
Locking the dopesheet is useful when working on multiple bones or a particular set of bones, allowing multiple bone rows to be seen while selecting different bones.
Refresh
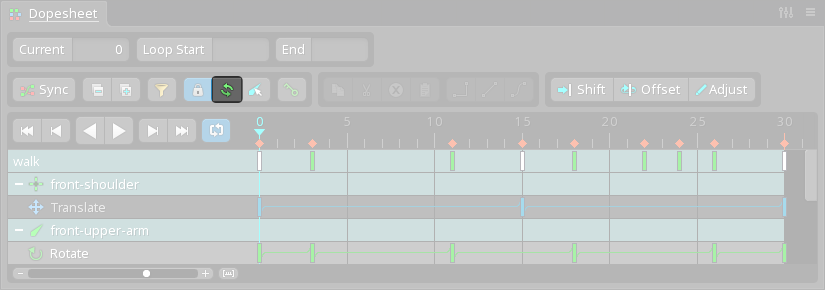
The refresh button updates the dopesheet to show the bone rows for the current selection. This is equivalent to unlocking and locking the dopesheet again.
Select
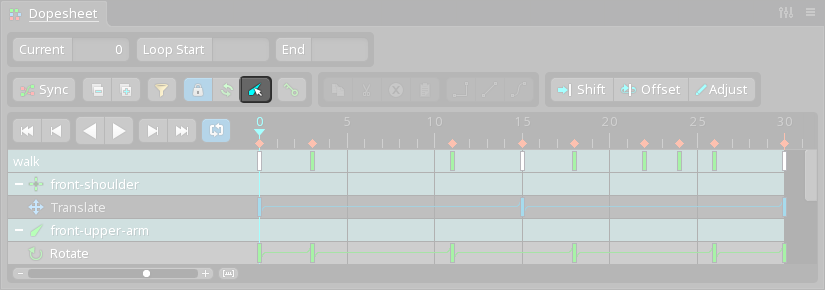
The select button selects the bones in the viewport for all of the currently shown bone rows. It can be useful to select the bones, modify the selection, then click refresh to change the bone rows shown in the dopesheet.
Order
Bone rows appear in the dopesheet using the order the bones were selected. Bone rows can be rearranged by dragging them up or down.
Visibility
Bone rows for bones in a skin are only shown when the skin is active. The tree view setting Hide viewport skin bones can be unchecked to see all bone rows.
Property rows for attachments in a skin are only shown when the skin is active. The tree view setting Show all skin attachments can be unchecked to see all attachment property rows.
Filters
When sync is enabled, the filter button is hidden.
The dopesheet can be filtered to show only the chosen types of properties. Click the filter button to select the property types that will be shown. When a filter is active, the filter button is red.
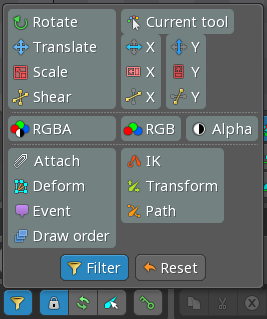
Hold ctrl (cmd on Mac) or shift to select multiple filters. The Reset button selects all filters.
When Current tool is active, only the bone transform properties that corresponding to the current transform tool are shown.
Right click the filter button to toggle the filters on or off.
Timeline position
The current timeline position is shown next to the Current button.
A frame number can be typed and followed by enter or tab to set the current timeline position. A fractional number can be typed to set the timeline position between frames.
Click in empty space to set the timeline position to that frame, if jump to frame is enabled.
When the Current button is active, the dopesheet will automatically scroll horizontally during playback. This can be useful for a long animation where the keys don't fit in the dopesheet horizontally.
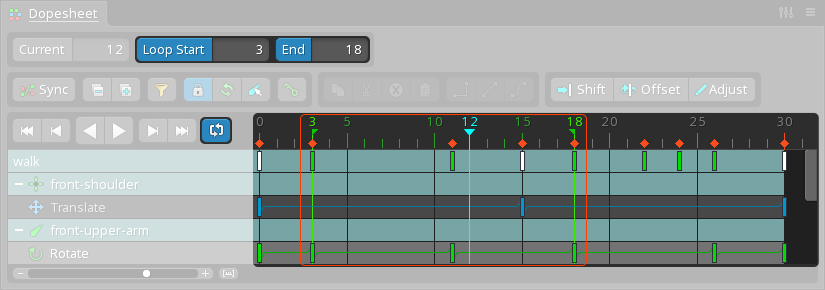
Loop
To set the start or end frame, set the timeline position then click the Loop Start or End button. Alternatively, type a frame number in each box. When both have been set and repeat is enabled, playback is limited between the specified start and end frames. This only controls how playback repeats, it is not stored per animation.
To clear the start and end frames, click Loop Start or End twice or delete the numbers in the text boxes.
Selection
Click to select a key. This will also set the timeline position to the selected key, if jump to key is enabled. Hold ctrl (cmd on Mac) to toggle the selection or select multiple keys. Selecting a key in an overview or bone row selects the keys under it.
If the dopesheet is locked when a key is clicked, the item for the key is selected in the viewport or tree. This makes it easier to modify the selected key.
When a key is selected, press ctrl+A (cmd+A on Mac) to select all keys in the same dopesheet row. Press it again to select all keys shown in the dopesheet.
When keys are selected in the dopesheet, the same keys are selected in the graph. Likewise, when keys are selected in the graph, they are also selected in the dopesheet.
Box selection
Drag in empty space to box select. Hold ctrl (cmd on Mac) before dragging to make a box selection that starts on top of a key.
To box select without leaving the box selection behind, drag and release the mouse button quickly. To keep the box selection, drag then pause briefly before releasing the mouse button. Multiple box selections can be created this way by holding ctrl (cmd on Mac).
The left or right edge of a box selection can be dragged to scale the selected keys. Scaling keys increases or decreases the timing between the selected keys. When used on the overview row, scaling can increase or decrease the duration of the entire animation.
Scaling can be used to reverse the order of the keys by moving the left edge past the right, or the right edge past the left.
Hold shift to disable frame snapping when creating or scaling a box selection.
Manipulating keys
Selected keys can be dragged left or right to change the frame where the key takes effect. Hold ctrl+shift (cmd+shift on Mac) when starting the drag to duplicate the selected keys. Hold shift while dragging to disable frame snapping.
Double click to delete a key.
Clipboard buttons
See clipboard buttons.
Shift
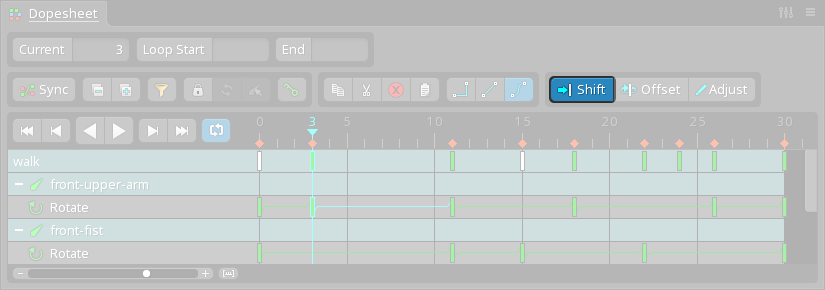
See shift.
Offset
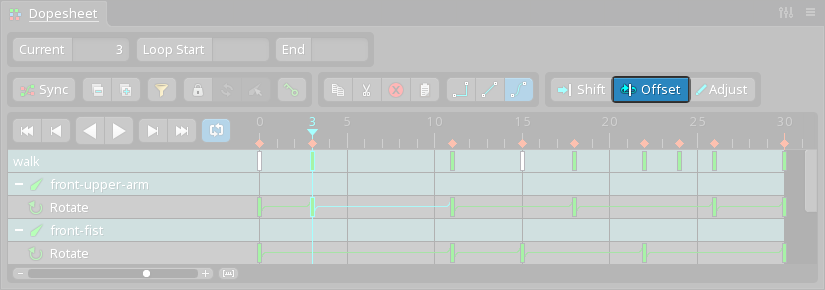
See offset.
Adjust
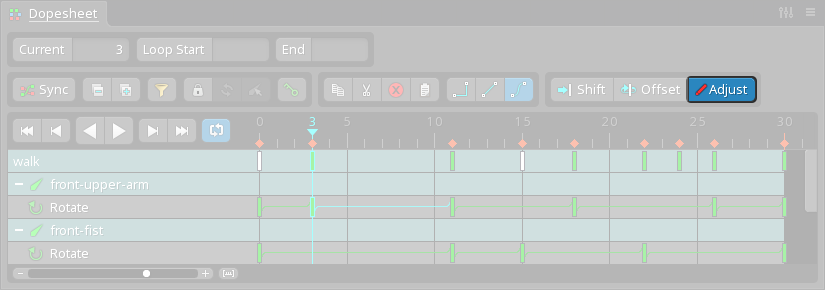
Often it is easier to use the graph to modify the value of multiple keys at once.
Adjust allows multiple keys to be edited at once. When Adjust is enabled and the Rotate, Translate, Scale, or Pose tool is used to manipulate bones in the viewport, all the selected keys are adjusted relatively by the same amount.
For example, a bone has three rotate keys: 0, 50, and 85 degrees. Select these keys in the dopesheet and enable Adjust, then use the Rotate tool to rotate the bone by 15 degrees. The selected keys are modified by adding 15 degrees to each value, so the keys become: 15, 65, and 100 degrees.
When an animation has movement that is defined by multiple keys, Adjust can be used to adjust the entire movement without needing to edit each key individually.
Key shown
See key shown.
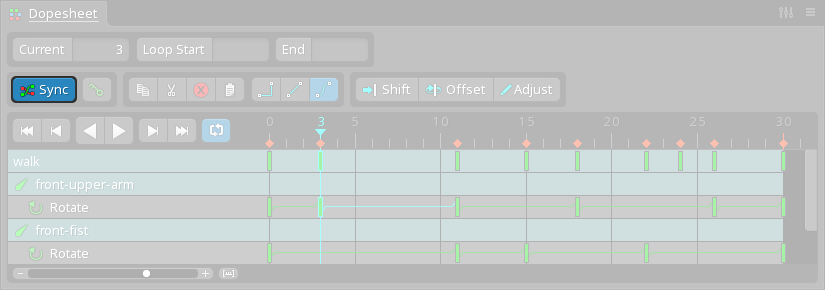
Sync
Hide toolbar can be useful to save room when using Sync, since the graph provides many of the same toolbar of buttons.
When enabled, the dopesheet shows the rows for the curves that are visible in the graph. Since the graph controls which dopesheet rows are visible, the lock and filter buttons are hidden.
When the dopesheet view is directly above or below the graph view and Sync is enabled, the zoom level for the timelines in both of the views are synchronized so that the keys in both views are aligned horizontally. This allows using the graph to adjust key values while also using the dopesheet to adjust timing and see many keys at once.
View settings
Toolbar
When unchecked, the dopesheet toolbar is hidden. This can save some vertical space and is often used with sync.
Rows
When unchecked, the dopesheet rows are hidden. This can save some horizontal space and is often used with sync.